Revolutionize Your DIY Projects: Unbeatable Deals on 3D Laser Levels!
Unpacking the Benefits of 3D Laser Levels
Understanding 3D Laser Levels VS Traditional Levels
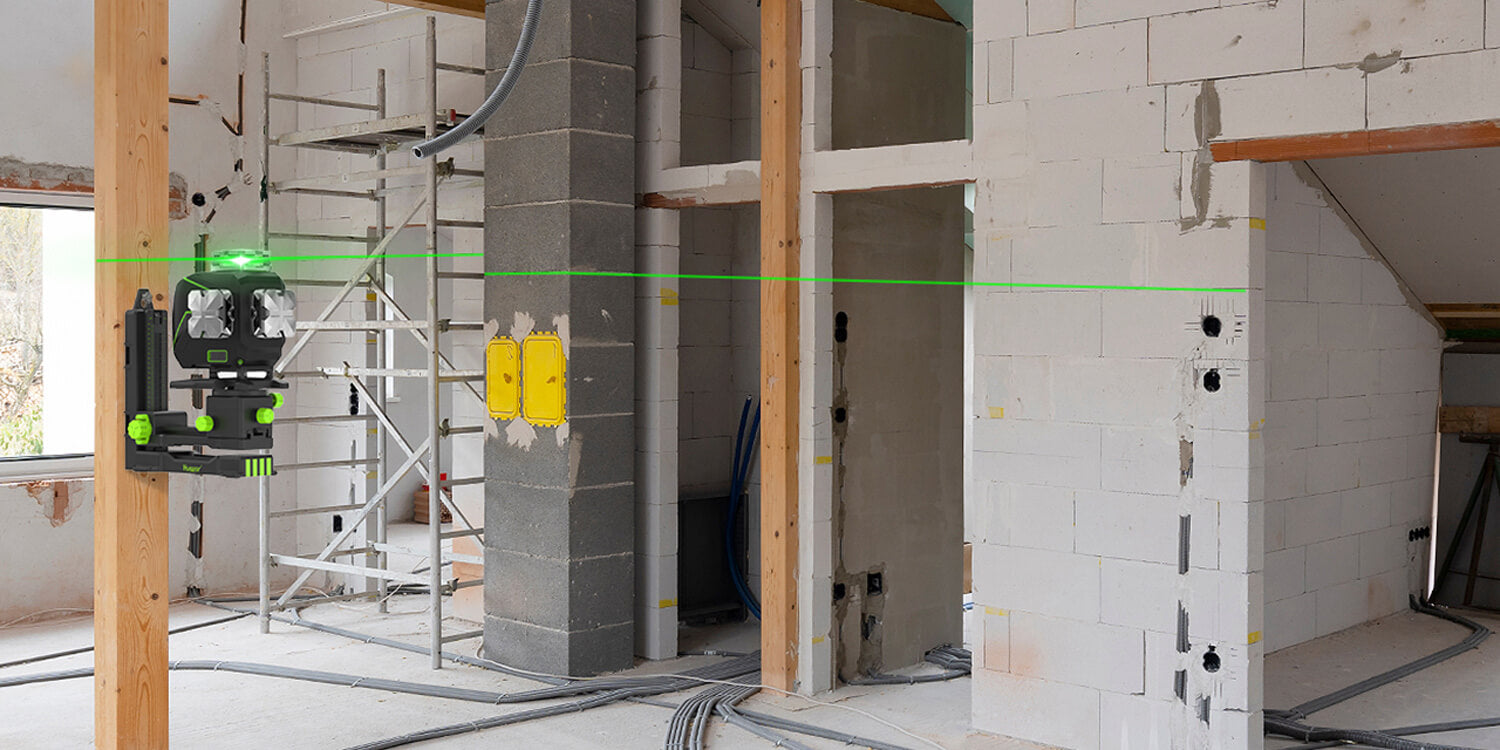
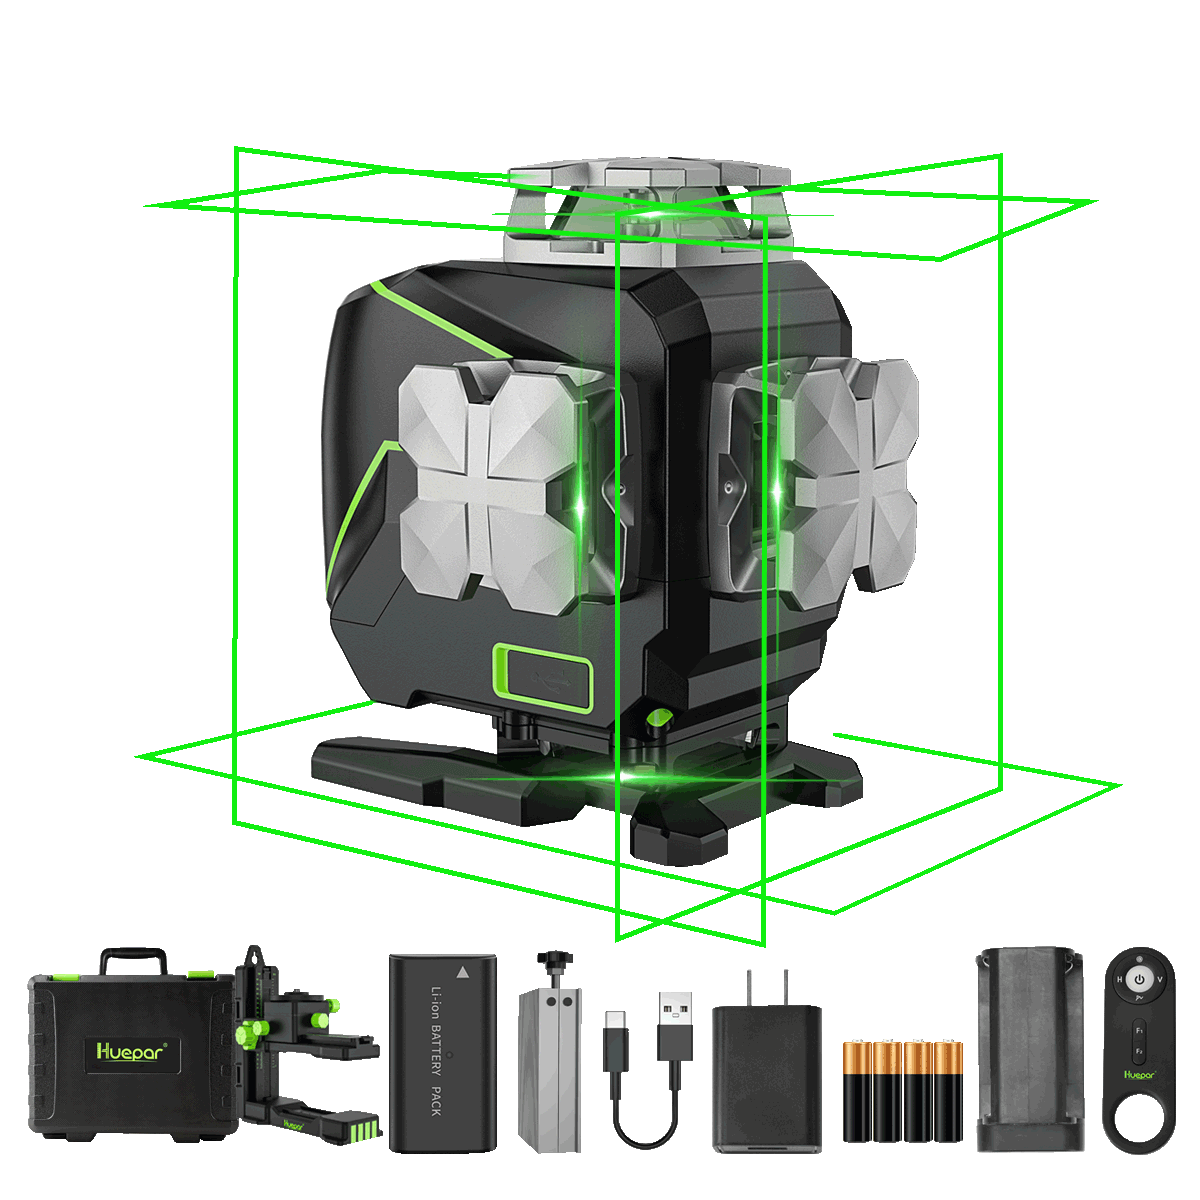
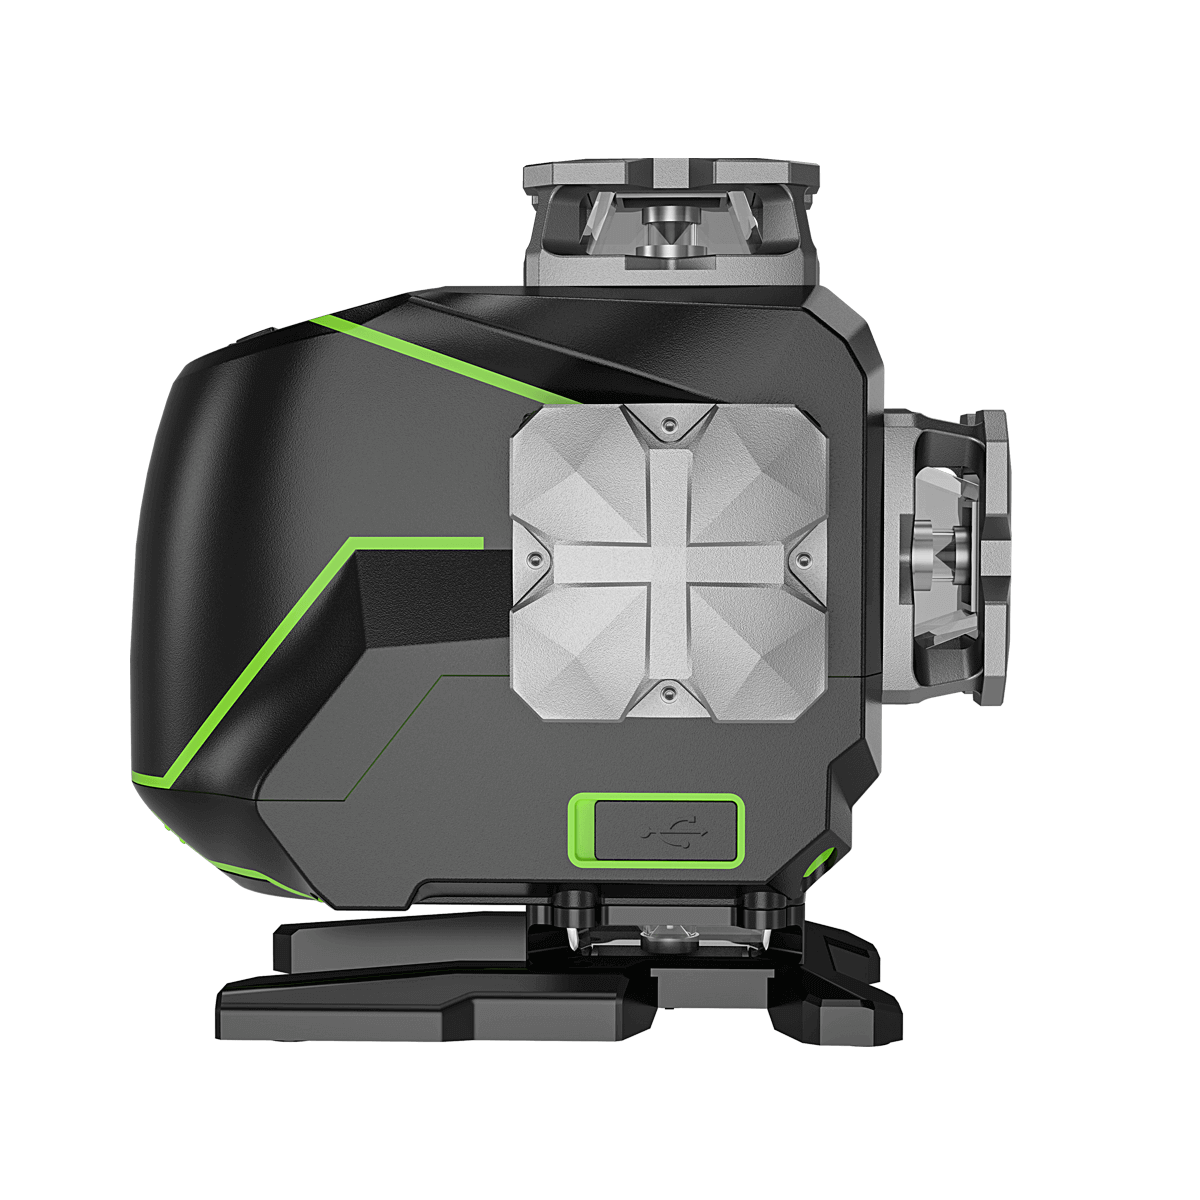
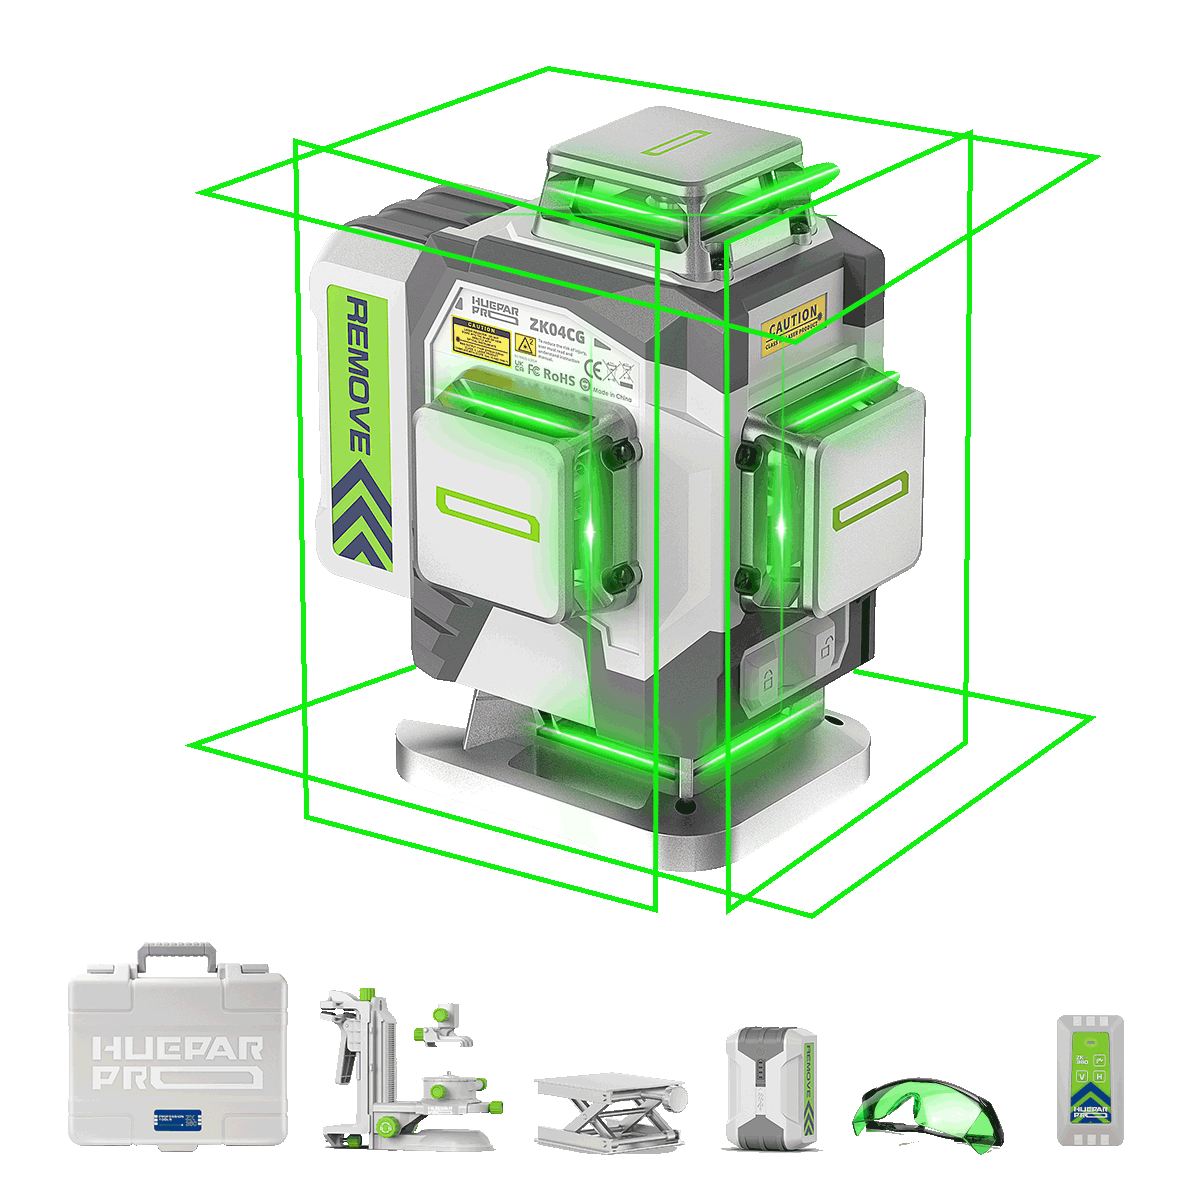
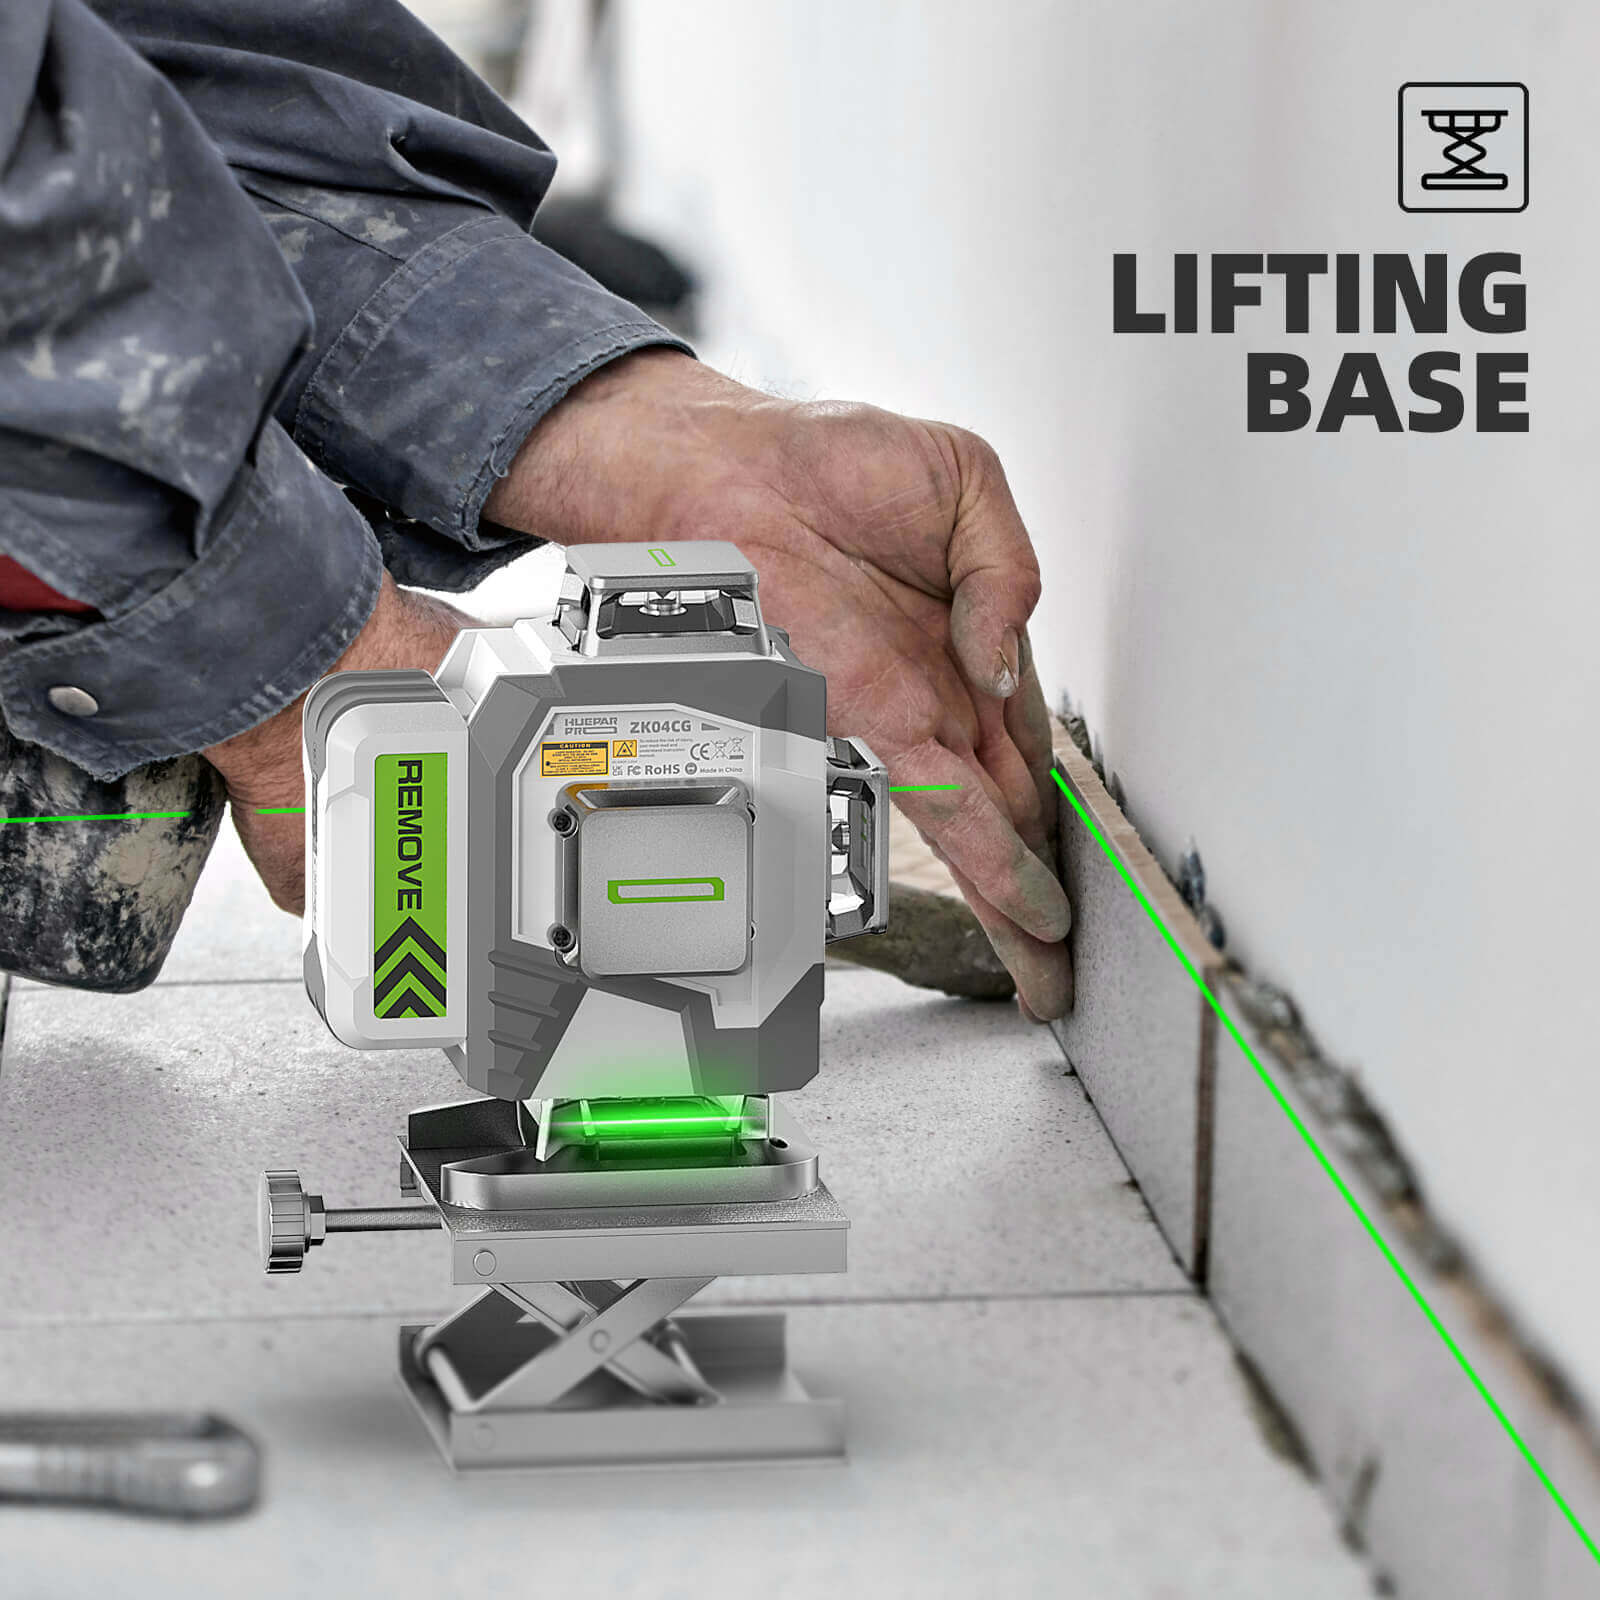
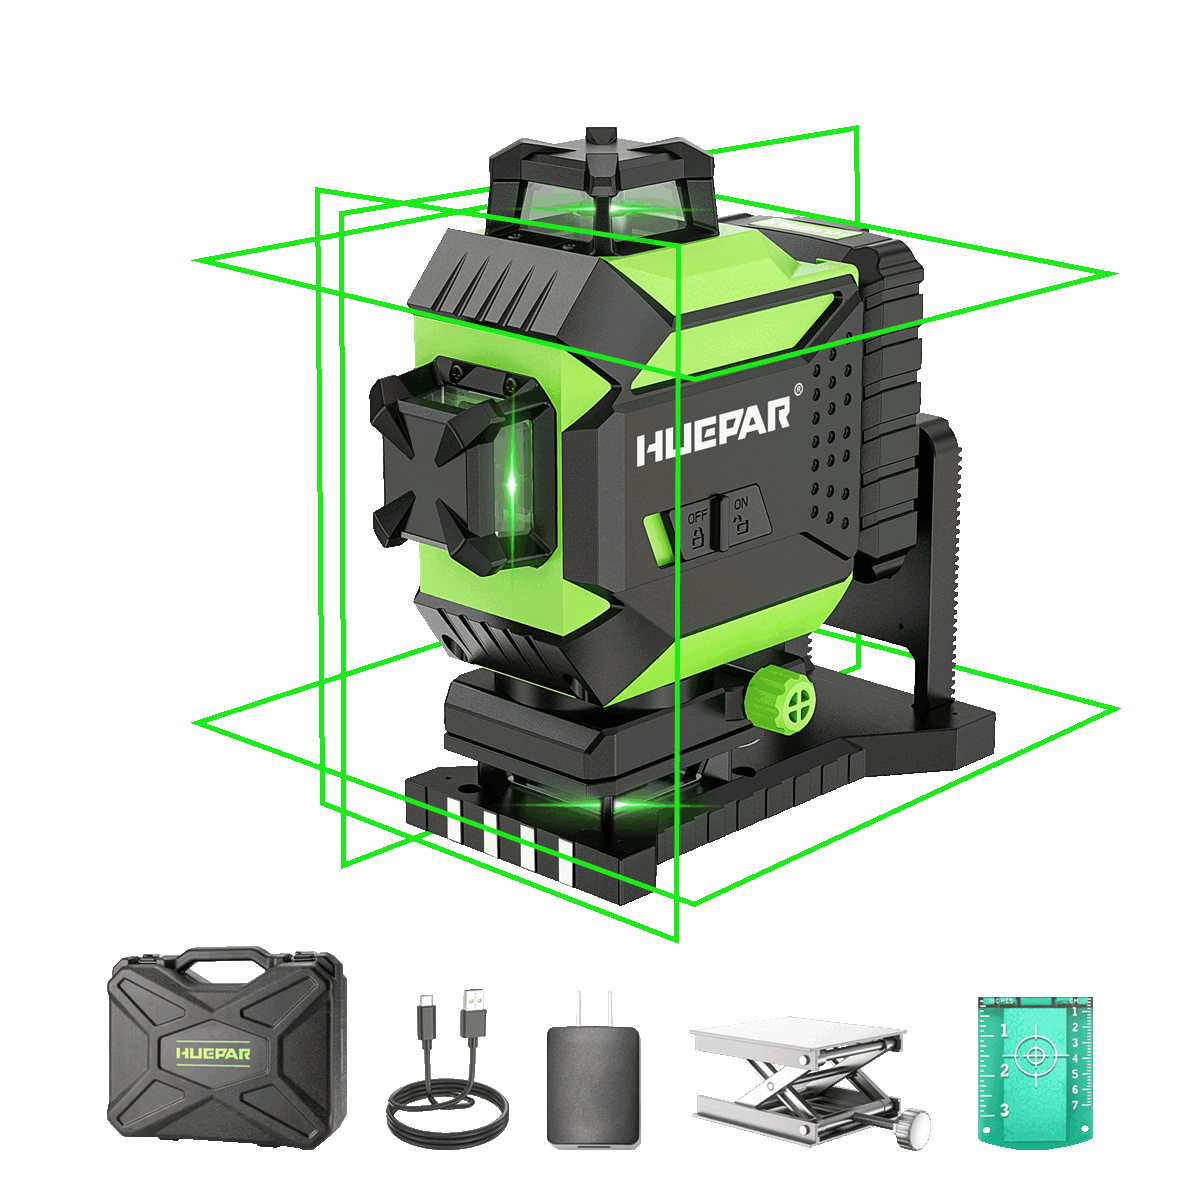
When comparing 3d laser levels with traditional levels, the differences are stark. 3D laser levels project lines on all three axes, X, Y, and Z, simultaneously. This allows for precise leveling and aligning without constant repositioning. Traditional bubble or spirit levels rely on the eye's ability to gauge levelness, which is less accurate. With a 3D laser level, you get a 360-degree perspective, making tasks like installing a drop ceiling or laying tile faster and more accurate. Their increased precision reduces the margin for error in your DIY projects.

Key Features to Look for in a 3D Laser Level
When shopping for a 3D laser level, consider these key features:
- Accuracy: Look for levels promising high precision, usually within +/-1/8-inch at 30 feet.
- Self-Leveling: Choose a level that auto-adjusts to create a consistent, even line.
- Multiple Lines: Opt for models that can project several lines at once for full-room layout.
- Visibility: Ensure the laser beam is bright enough to see under various lighting conditions.
- Battery Life: Long-lasting batteries save time and hassle during longer projects.
- Durability: A rugged design with water and dust resistance is ideal for tough job sites.
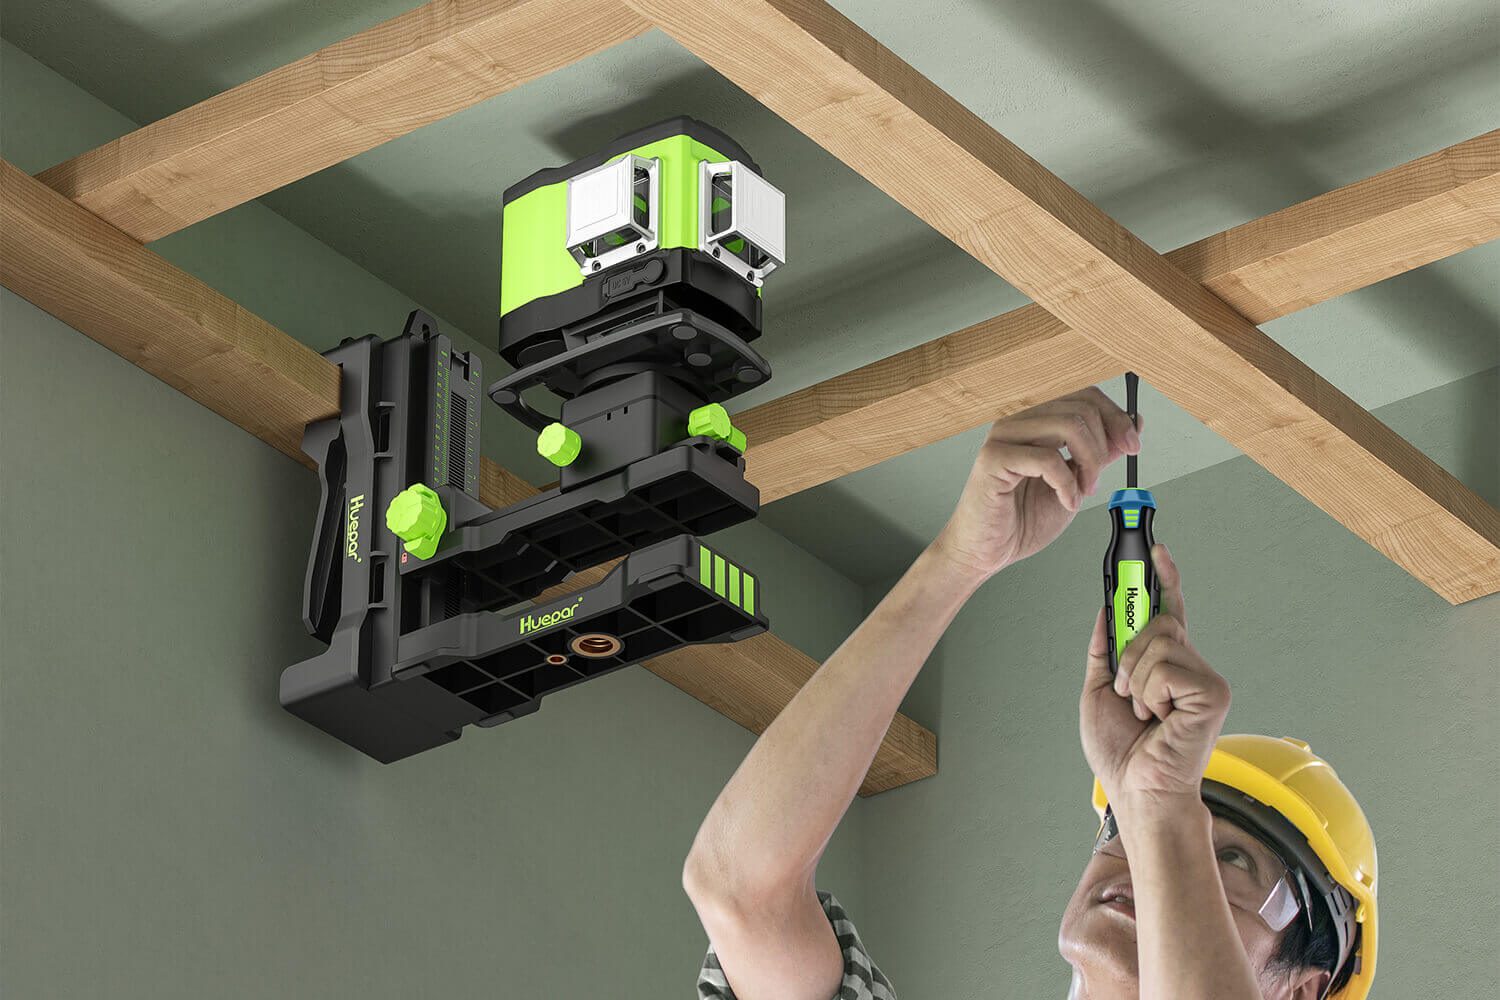
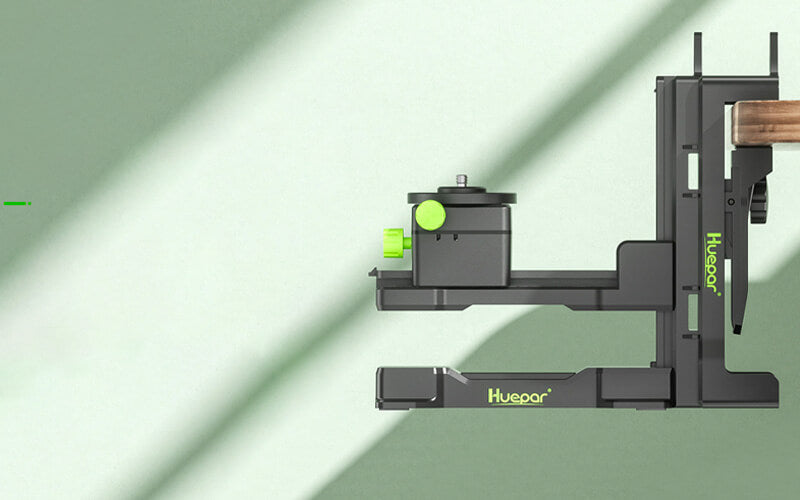
- Mounting Options: Levels with versatile mounting choices make setup easier.
These features boost the efficiency and accuracy of your DIY tasks.
Top Cross Line Laser Level Choices for DIY Projects
Comparison of Popular Cross Line Laser Levels
When it comes to DIY projects, accuracy is key. That's where cross line laser levels come in. They project straight lines onto surfaces at an exact 90-degree angle. This helps ensure your work is level and aligned accurately. Let's compare some popular choices:
- DeWalt DW088K: This model is known for its durability and ease of use. It has a full-time pulse mode for use with a detector, extending its range.
- Bosch GLL 30: Features highly visible lines, smart pendulum system, and is very user-friendly. It's compact and great for quick jobs.
- Tacklife SC-L01: A budget-friendly option that doesn't skimp on quality. It offers self-leveling within 4 degrees and comes with a protective case.
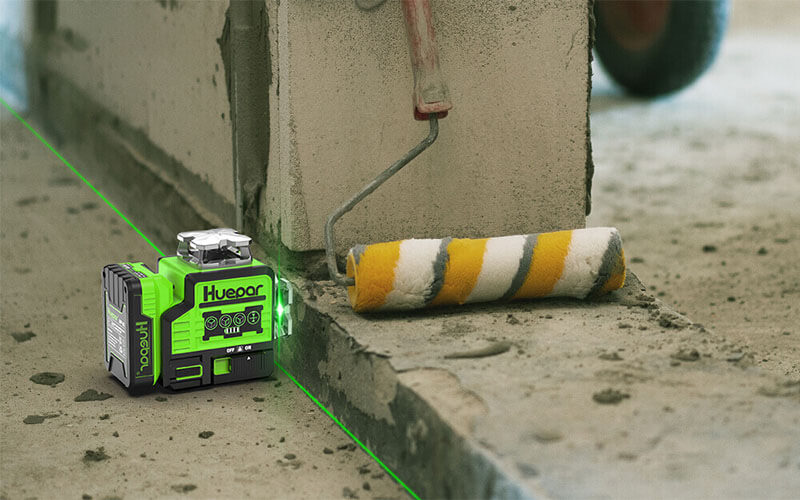
- Huepar 902CG: This tool boasts a 360-degree horizontal line, making it ideal for extensive layout jobs. It also has a green beam, which is four times brighter than red beams.
These are just a few of the top picks that make DIY tasks easier and more precise. When you choose a cross line laser level, consider the size of your workspace, the visibility of the laser, and the tool's ease of set-up and use.
How to Select the Perfect Cross Line Laser Level for Your Needs
Selecting the perfect cross line laser level is crucial. Here's how:
- Assess Job Needs: Consider the type of projects you’ll tackle. Simple decor or complex builds?
- Accuracy Levels: Look for high accuracy levels for precise measurements.
- Laser Visibility: Choose a laser with good visibility range, even in bright conditions.
- Battery Life: Opt for long battery life to avoid frequent charging.
- Durability: Ensure the laser level can withstand the wear and tear of DIY tasks.
- Ease of Use: User-friendly interfaces and clear instructions are key.
- Price Point: Balance features with your budget to find the best value.
Match these features with your project requirements to find your ideal tool.
Pro Tips for Using Cross Line Laser Levels Effectively
Using a cross line laser level can elevate your DIY projects to a new level of precision and ease. Here's how to maximize their potential:
- Understand Your Device: Familiarize yourself with the laser level's functions and settings before starting. Proper knowledge prevents mistakes.
- Keep the Level Charged: Ensure your laser level's batteries are fully charged or replaced regularly for consistent performance.
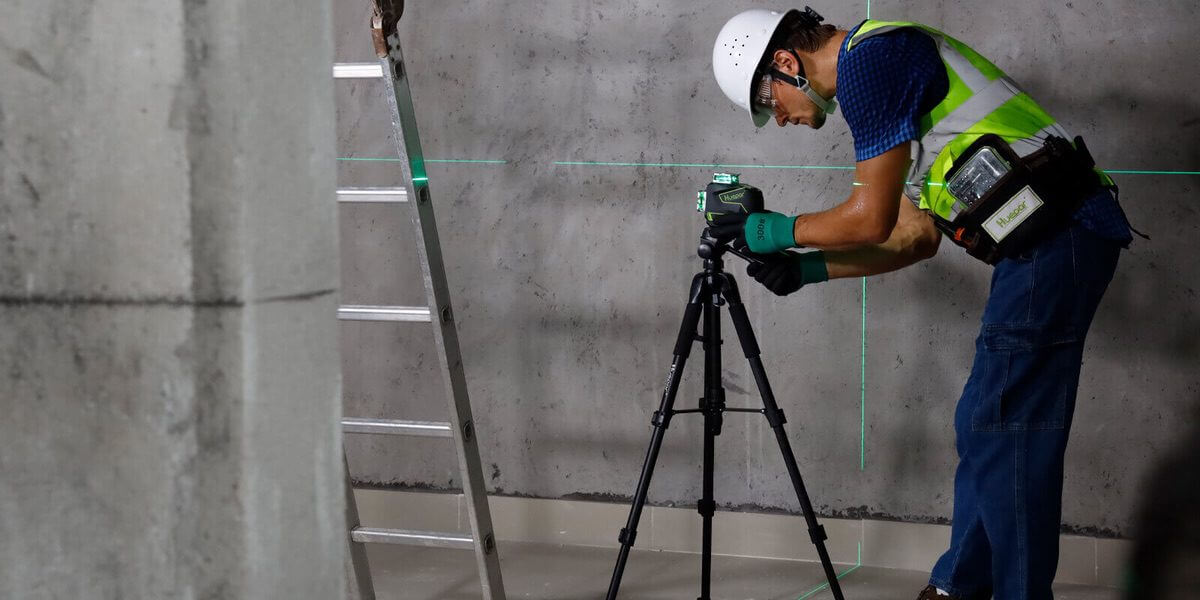
- Mount It Properly: Secure the laser level on a stable surface or tripod. This minimizes disruptions and maintains accuracy.
- Calibrate Regularly: Regular calibration is vital for precise measurements. Check the manufacturer's guidelines for calibration steps.
- Avoid Direct Sunlight: Laser lines can be hard to see in bright conditions. Try to work in shaded areas or use a laser detector.
- Safety First: Always avoid direct eye exposure to laser beams to prevent eye damage. Wear safety goggles if necessary.
Remember, careful handling and smart usage are key to the effective application of cross line laser levels in DIY projects.
The Importance of a Good Tripod for Laser Level Precision
Choosing the Right Tripod for Your Laser Level
Selecting the correct tripod can have a big impact on laser level accuracy. For best results, here are some tips:
- Check the tripod's stability. Strong legs and a firm base are key.
- Look at the mounting thread size. Most lasers use a 1/4" or 5/8" thread.
- Consider the tripod's height. Make sure it can reach all areas you plan to work on.
- Check for adjustability. A good tripod should adjust for uneven floors.
- Think about portability. If you move often, get a lightweight, foldable model.
- Don't forget durability. A quality tripod can resist wear and tear better.
- Some tripods come with extras. Look for options like carrying cases or shoulder straps.
A good tripod matches your laser level and your project needs. Take the time to choose well!
Setting Up Your Laser Level with a Tripod: A Step-by-Step Guide
- Choose a Stable Location: Find a flat, stable surface to set up your tripod. Avoid soft or uneven ground.
- Extend the Legs: Pull the legs out fully and lock them into place. Make sure they are secure.
- Adjust Tripod Height: Set the tripod to your desired height. Ensure it's level using the built-in bubble.
- Attach the Laser Level: Fasten your laser level onto the tripod's mounting plate. Tighten it well.
- Check Level Accuracy: Turn on the laser level. Use a target or wall to check the level line's accuracy.
- Fine-Tune Alignment: Adjust the level or tripod as needed to get a precise, straight line.
- Secure the Setup: Once everything is aligned, double-check that all tripod parts are tightened.
Following these steps will help you achieve precision in your DIY projects with a laser level and tripod.
Common Mistakes to Avoid When Using a Tripod with Laser Levels
- Ignoring the Level Surface: Always ensure the tripod is on a flat, stable surface.
- Overlooking Tripod Height: The tripod should match the required working height. Adjust accordingly.
- Neglecting to Secure the Tripod: Before attaching the laser level, make sure the tripod legs are locked in place.
- Misaligning the Laser: The laser should be perfectly calibrated with the tripod head.
- Skipping Regular Checks: Periodically check that the tripod and laser level maintain accuracy.
- Forgetting Environmental Factors: Be aware of wind and uneven ground that can affect stability.
