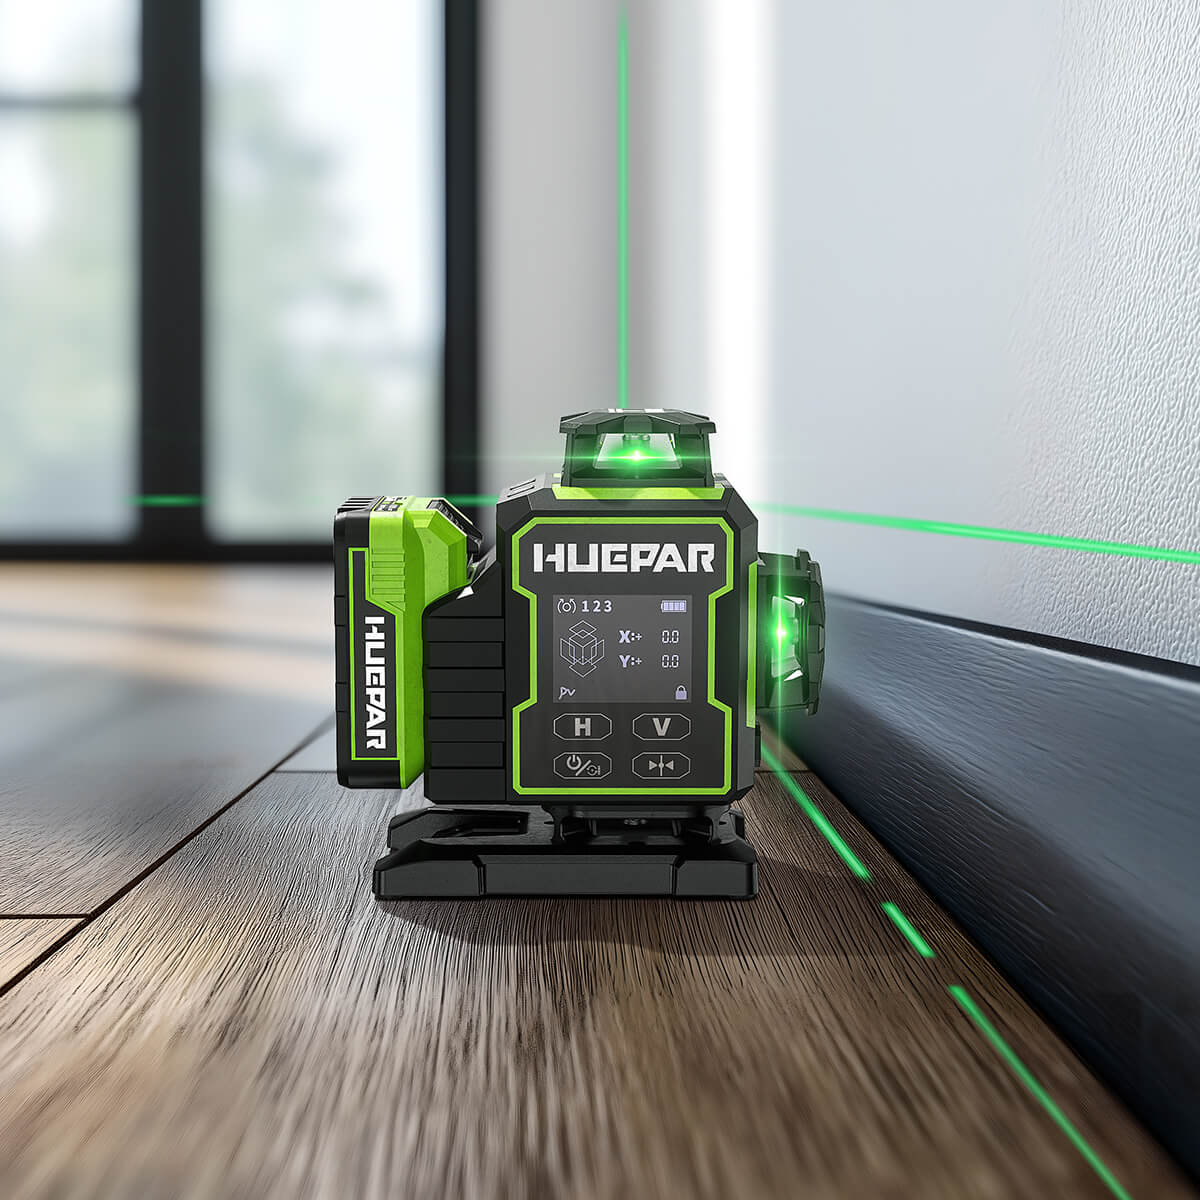
Elevate Your DIY Projects: Unbeatable Deals on 3D Laser Levels!
Why Upgrade to a 3D Laser Level for Your Next DIY Project?
Understanding the Advantages of 3D Laser Levels Over Traditional Levels
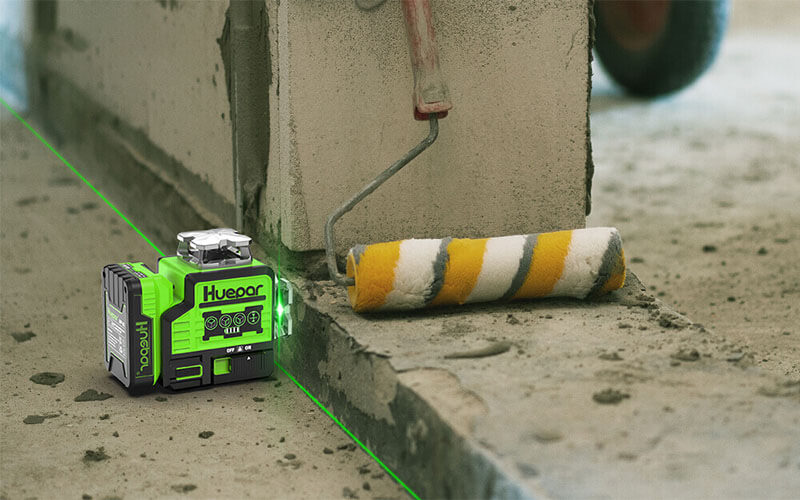
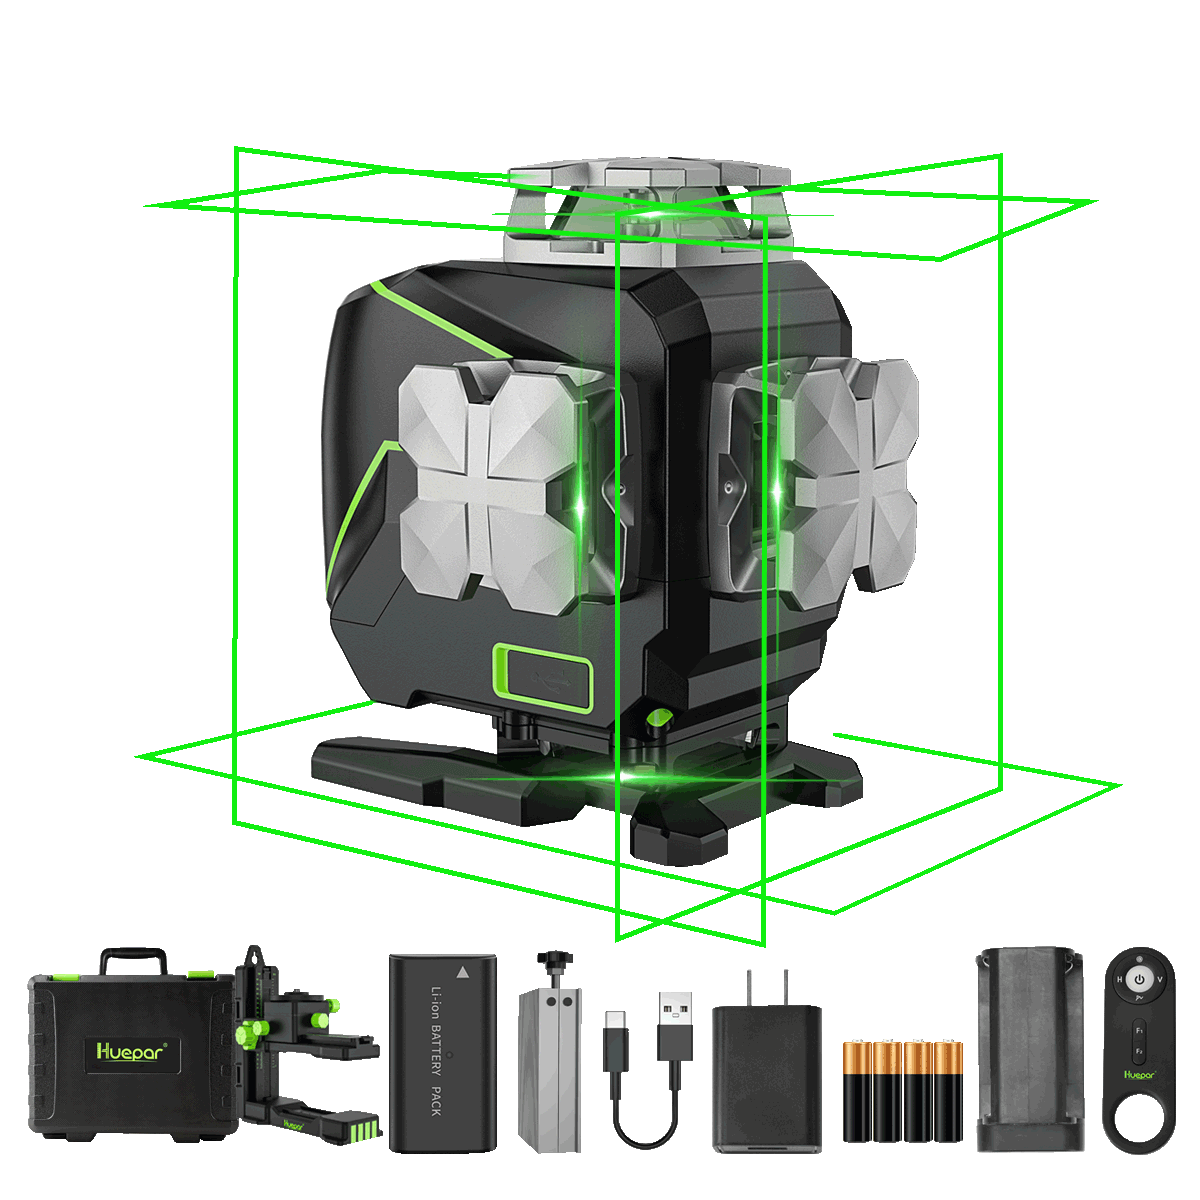
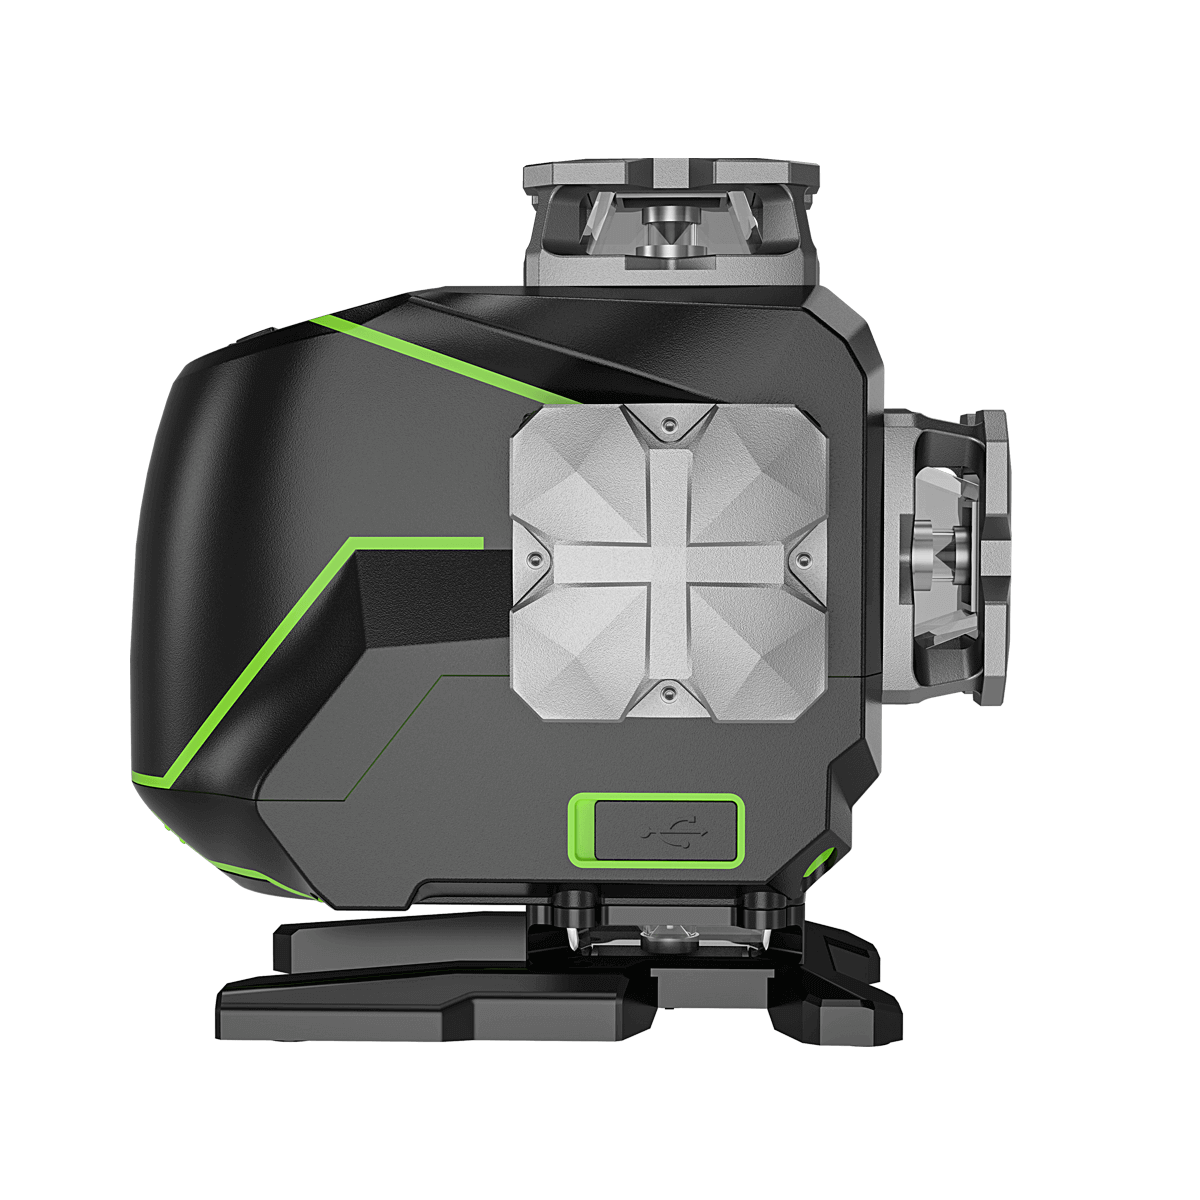
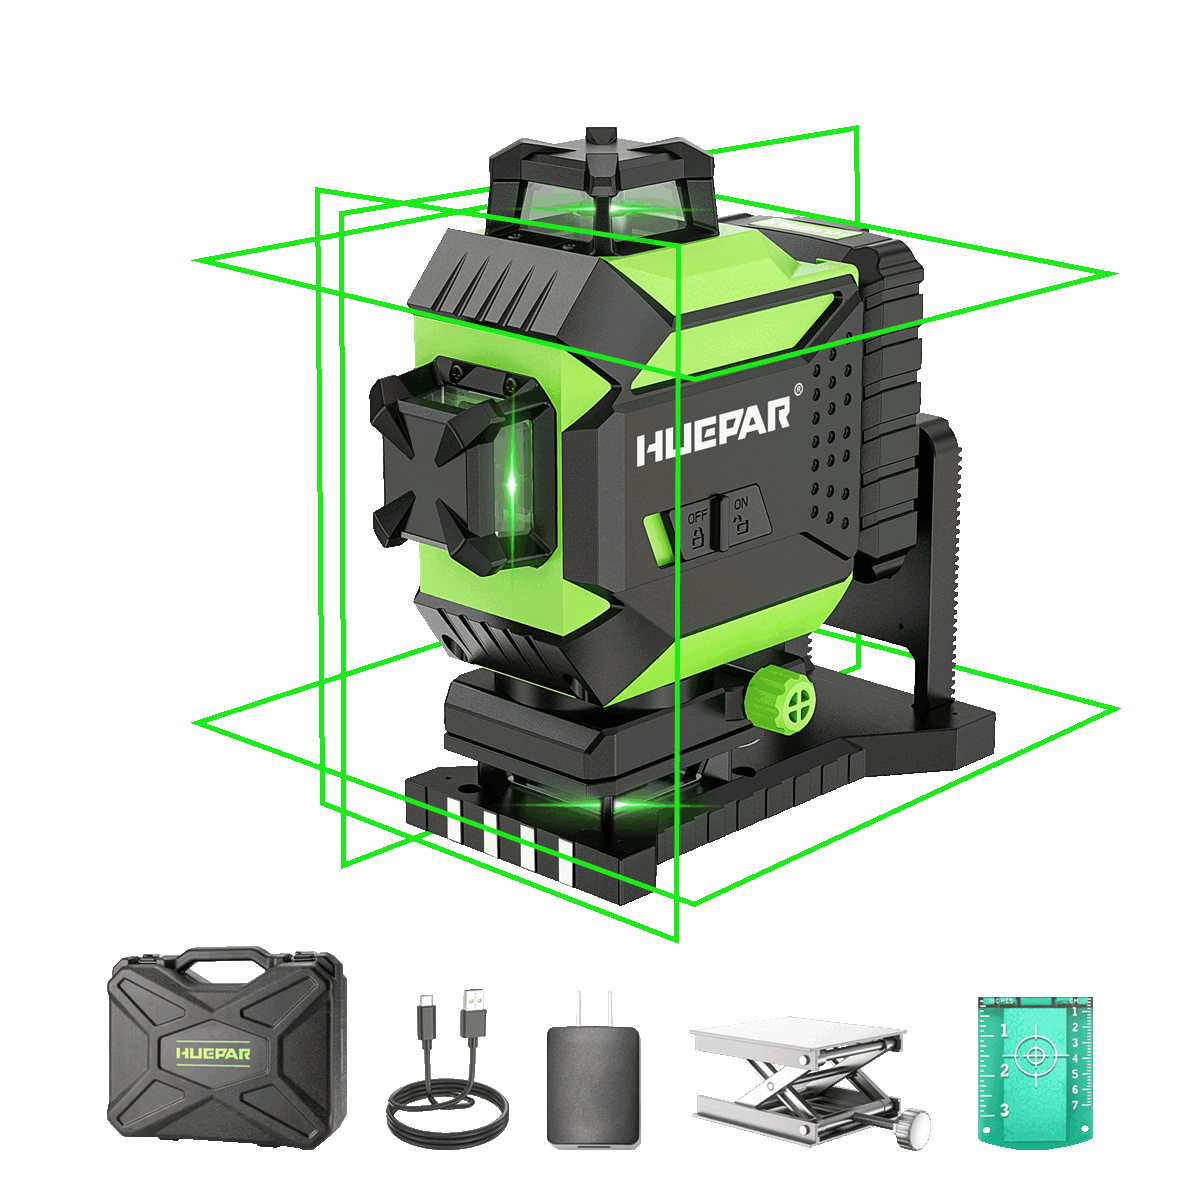
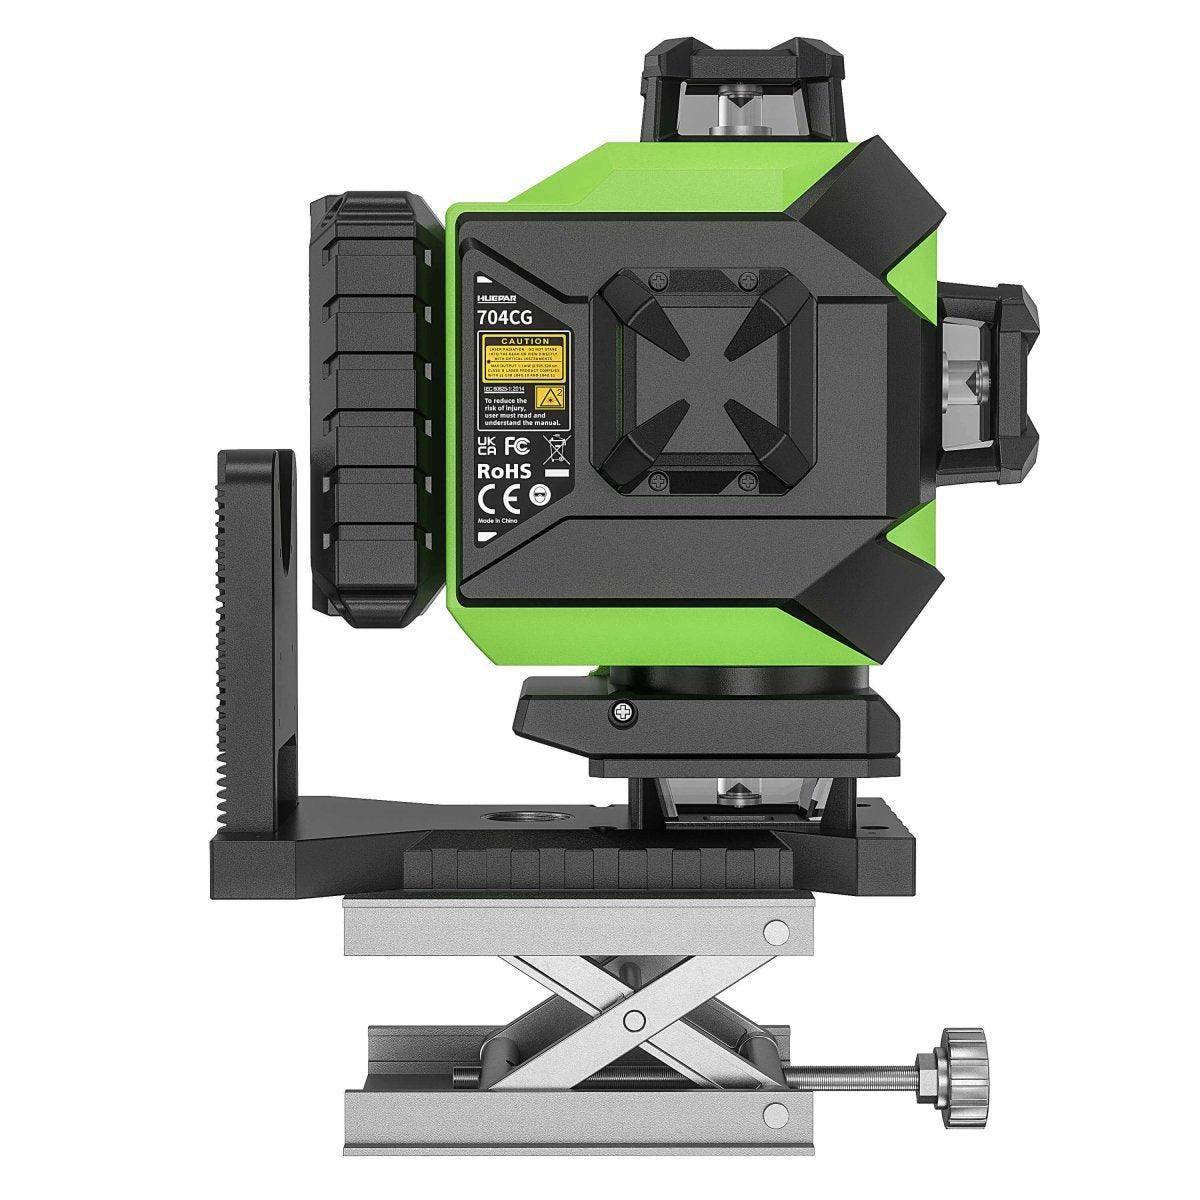
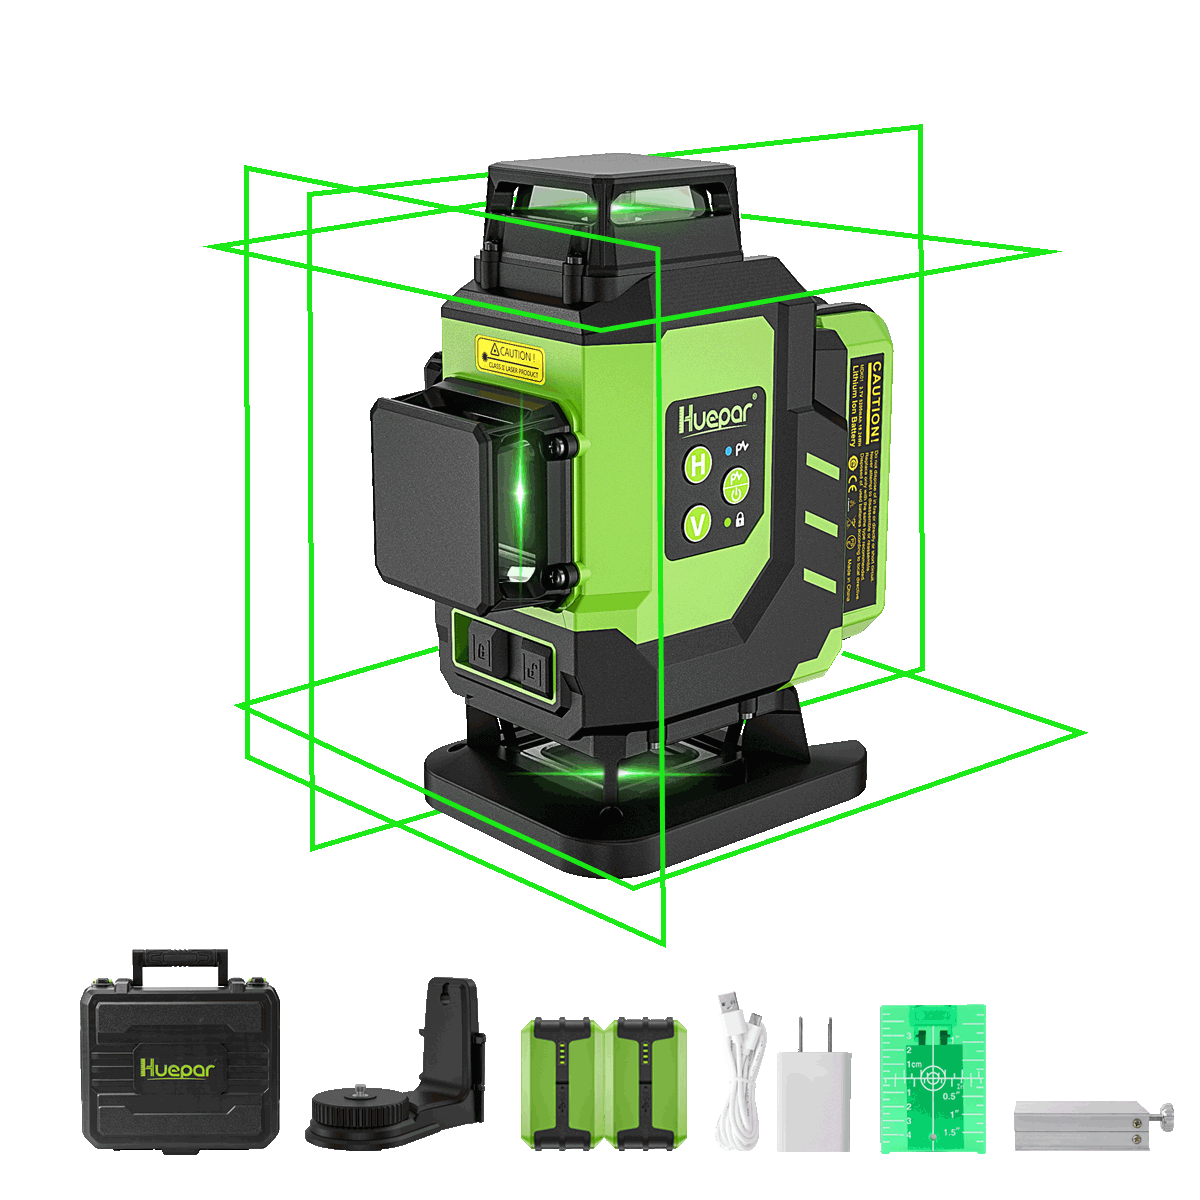
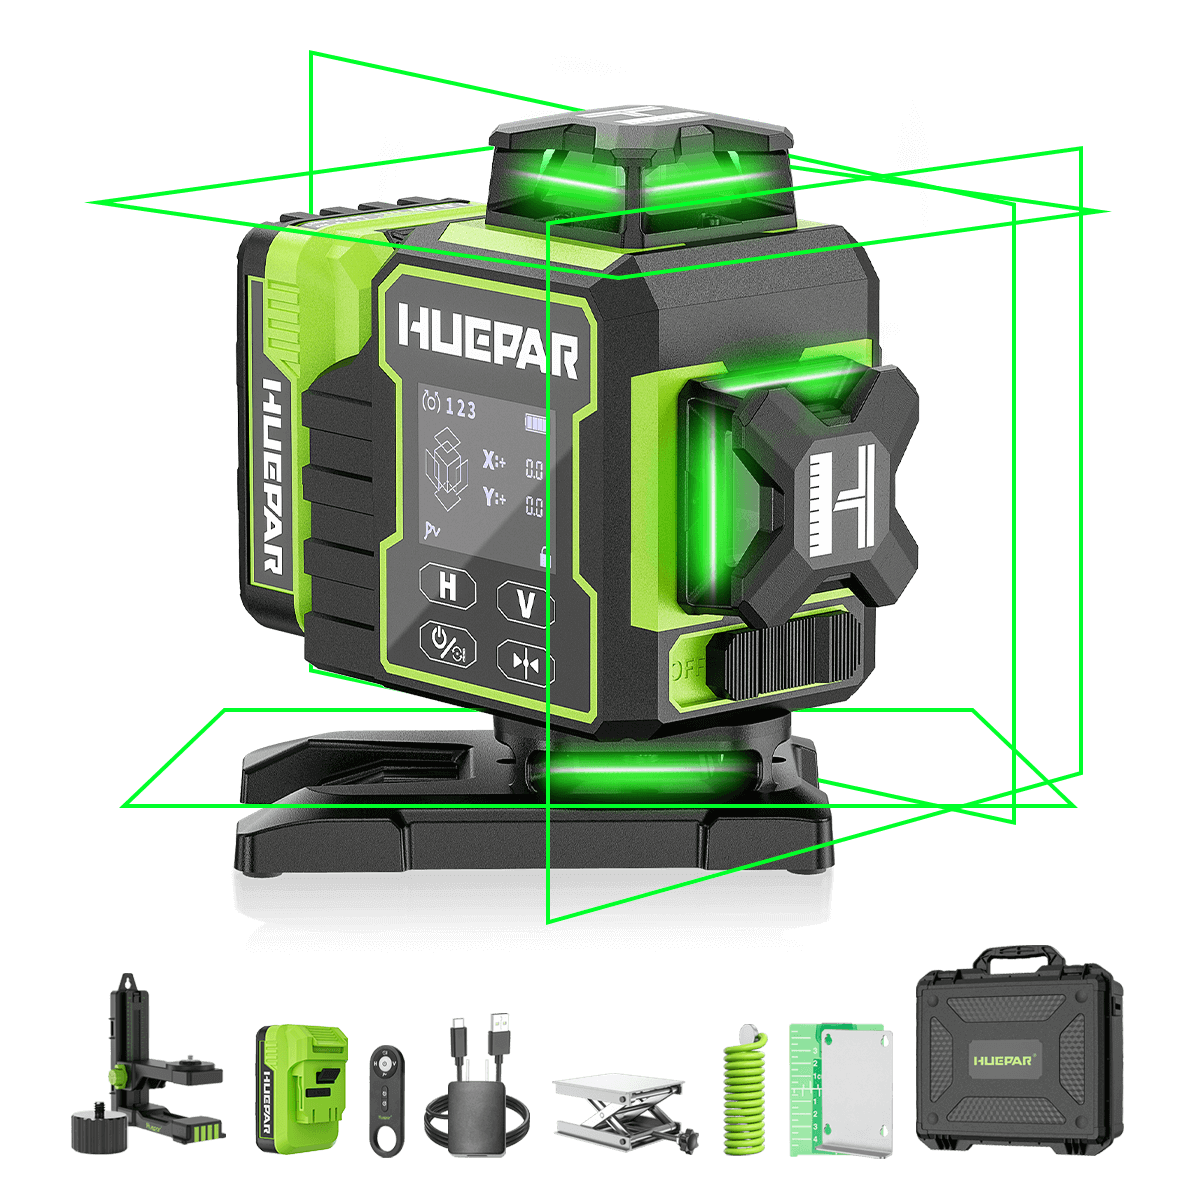
When tackling a DIY project, precision is key. Traditional levels can do the job, but 3d laser levels offer more. They give clear and precise lines across walls, floors, and ceilings. This means better alignment and fewer mistakes. They also save time. You can set them up once and get a full room layout quickly. This tool is a game-changer for both newbie and pro DIYers. It shines bright lines that are easy to see, even in daylight. This makes your DIY tasks quicker and less stressful. Upgrade to a 3D laser level and see the difference!

The Precision and Efficiency of Using Cross Line Laser Levels
Using cross line laser levels ups your DIY game in big ways. These tools cast both horizontal and vertical lines. This means you can align and level in more than one direction at a time. That's a big time-saver! For jobs like tiling, hanging pictures, or installing cabinets, the accuracy is unmatched. Plus, they self-level. This cuts out guesswork and errors. In short, a cross line laser level makes your work quicker, more accurate, and less stressful.
How a 3D Laser Level Can Transform Your DIY Work
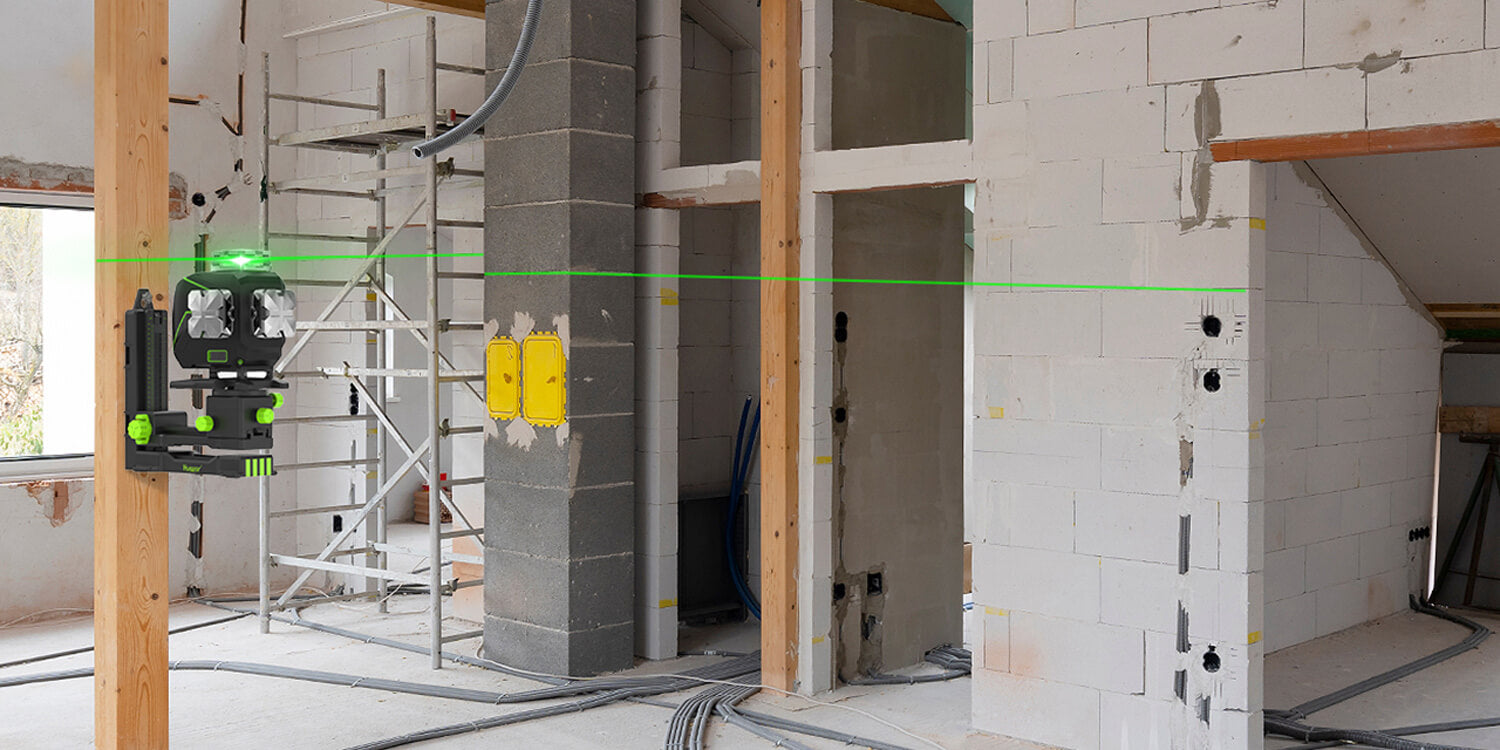
A 3D laser level is a game-changer for DIY enthusiasts. It beams three hundred sixty degree lines on walls, ceiling, and floors. This means you can align and level in every dimension with just one setup. Picture hanging, framing, tiling, and even complex custom designs are simpler. Plus, there's no more need for second guesses or constant remeasuring. With a 3D laser level, your projects not only look professional but are done quicker. This tool brings a new level of precision and ease to your DIY tasks. You'll wonder how you ever managed without it.
Choosing the Perfect 3D Laser Level for Your Needs
Key Features to Look for in a 3D Laser Level
- Look for multiple beam options. This allows for greater versatility in your projects.
- Check for a self-leveling feature to increase accuracy and reduce setup time.
- Ensure the tool has a long battery life, so it doesn't quit in the middle of a job.
- A laser level with a strong build is crucial for durability, especially for outdoor work.
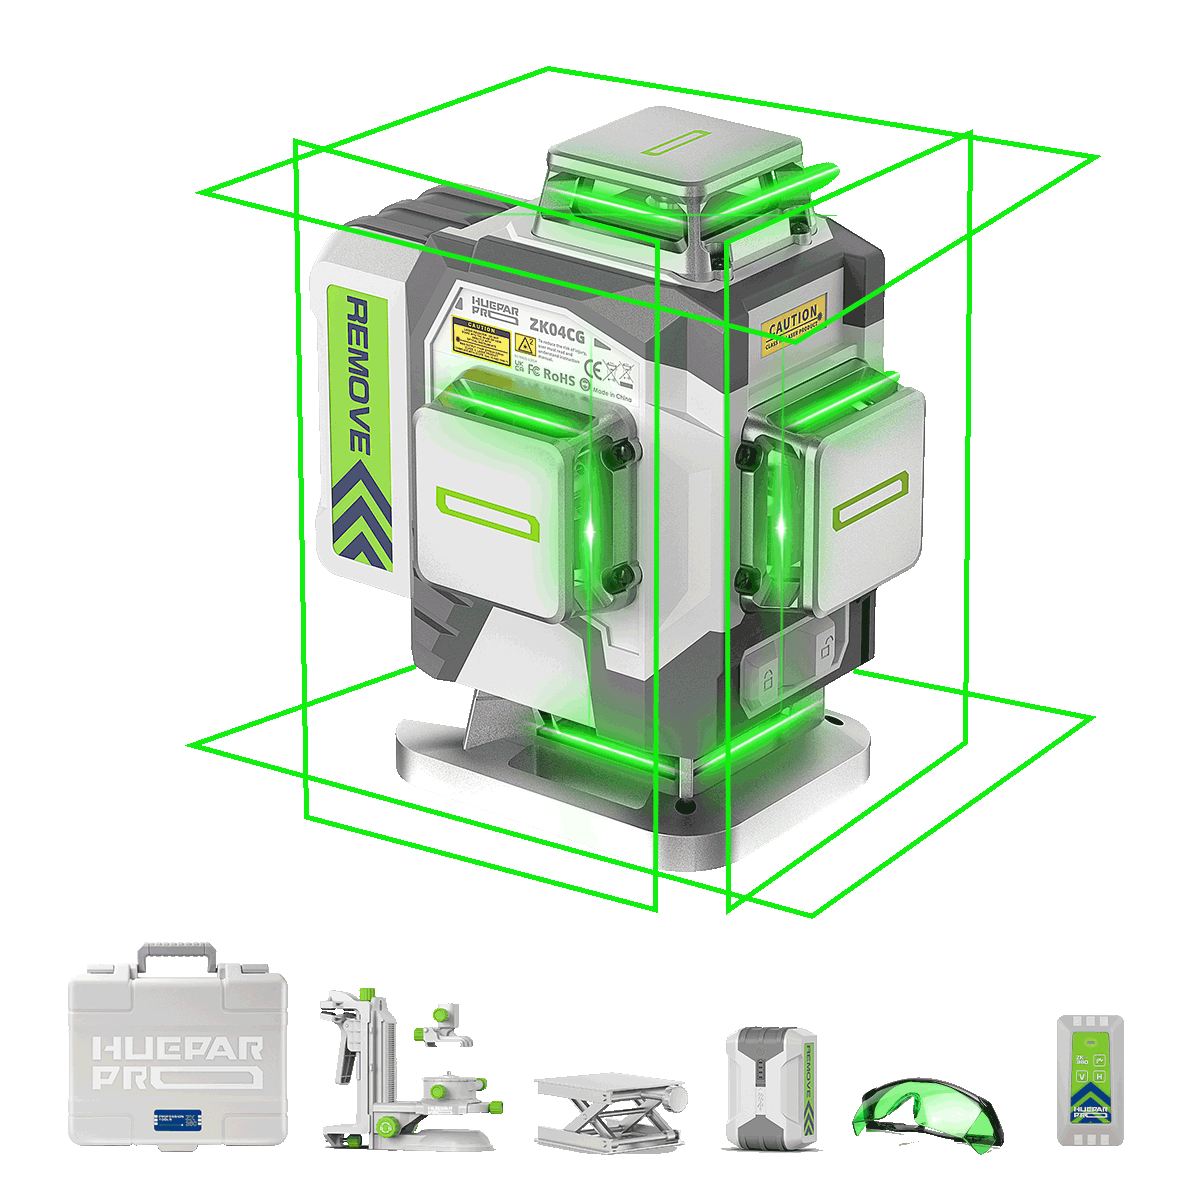
- Consider models with additional accessories, like target cards and glasses, for better visibility.
- Range and accuracy are key; the greater the range, the more area you can cover at once.
- Opt for a device with connectivity features, enabling you to control it via smartphone.
The Importance of Selecting the Right Tripod for Stability
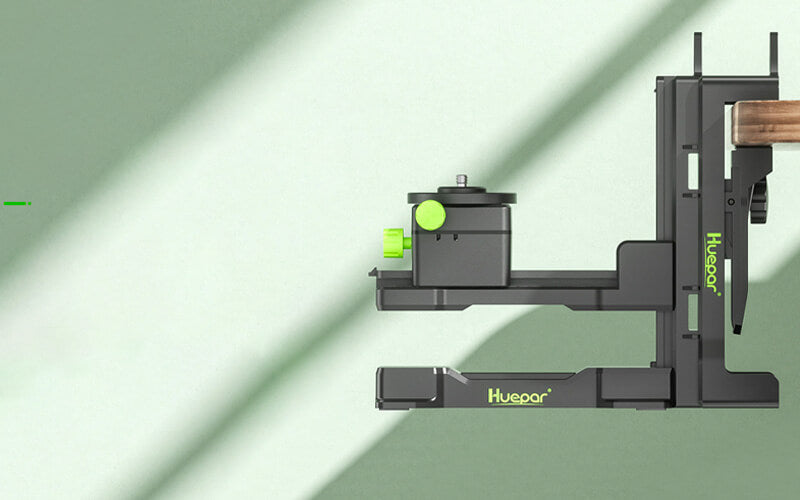
Choosing the right tripod is crucial for your laser level. A steady tripod is a must for precision. Look for one with adjustable legs for uneven surfaces. The tripod head should be compatible with your laser level model. It should be sturdy and resist vibrations. Tripods vary in material; aluminum is light and durable. A good tripod helps you avoid redoing work due to level shifts. Invest in quality to save time and frustration on DIY tasks.
Comparing Prices and Brands for the Best Deals
Shopping for a 3D laser level need not break the bank. When comparing, look for value - quality and cost. Start with well-known brands; they often offer reliability. But, don't ignore smaller brands. They could have competitive prices for similar quality. Check for sales and online deals too. Many retailers offer discounts and bundles. These might include a tripod, adding extra value. Remember, the cheapest option isn't always the best. Think about warranty and customer service. This can save money in the long run if issues arise. Make a smart pick based on a mix of price, features, and brand reputation. Happy bargain hunting!
Tips on Using 3D Laser Levels Effectively
Setting Up Your 3D Laser Level for Optimal Accuracy
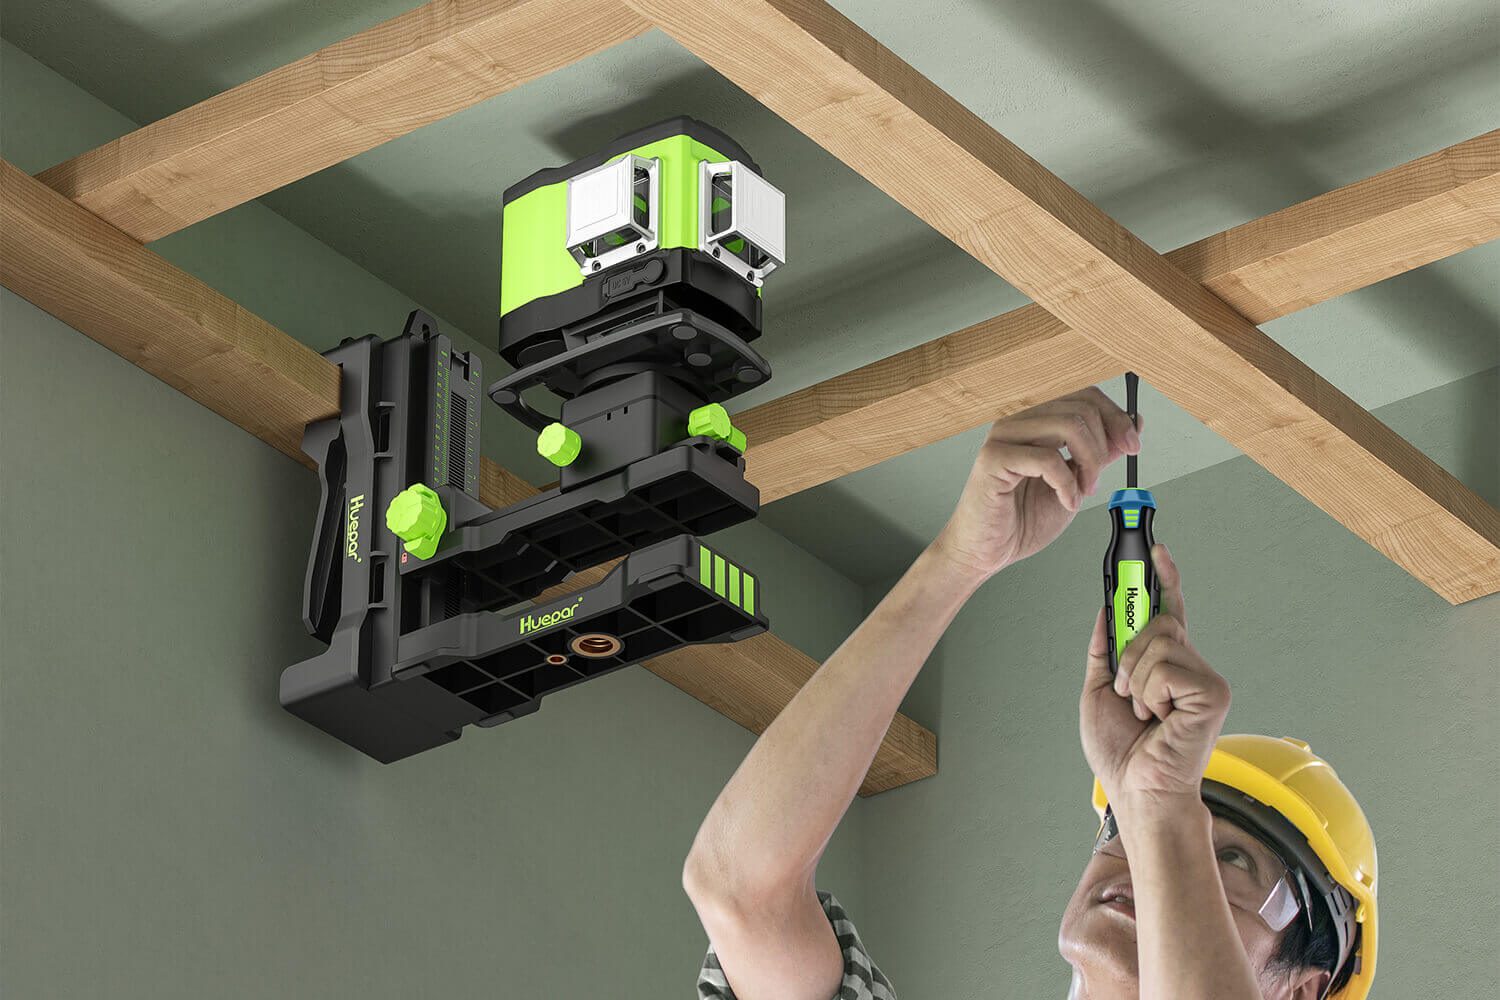
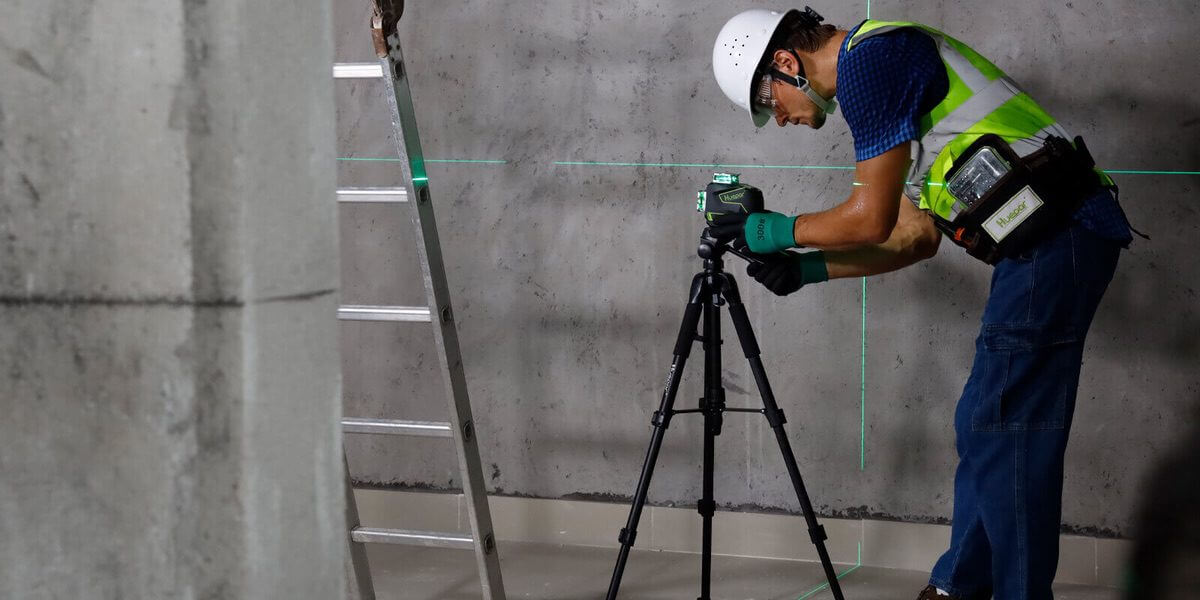
Maximize your 3D laser level's potential with proper setup. Here's how: First, make sure the area is clear of obstacles. Next, place your tripod on a stable, even surface to avoid wobbles. Then, securely attach the laser level to the tripod. Adjust the device to your desired height. Use the self-leveling feature if available. Check for accuracy by projecting lines onto a known level surface. If needed, make fine adjustments using the device's knobs. Lastly, lock the level in place to start your project right.
DIY Projects Made Easier with 3D Laser Levels
Unlock the full potential of 3d laser levels for your home fixes and crafts. Here's how:
- Hang pictures and shelves with exact alignment.
- Install kitchen cabinets with precise level lines.
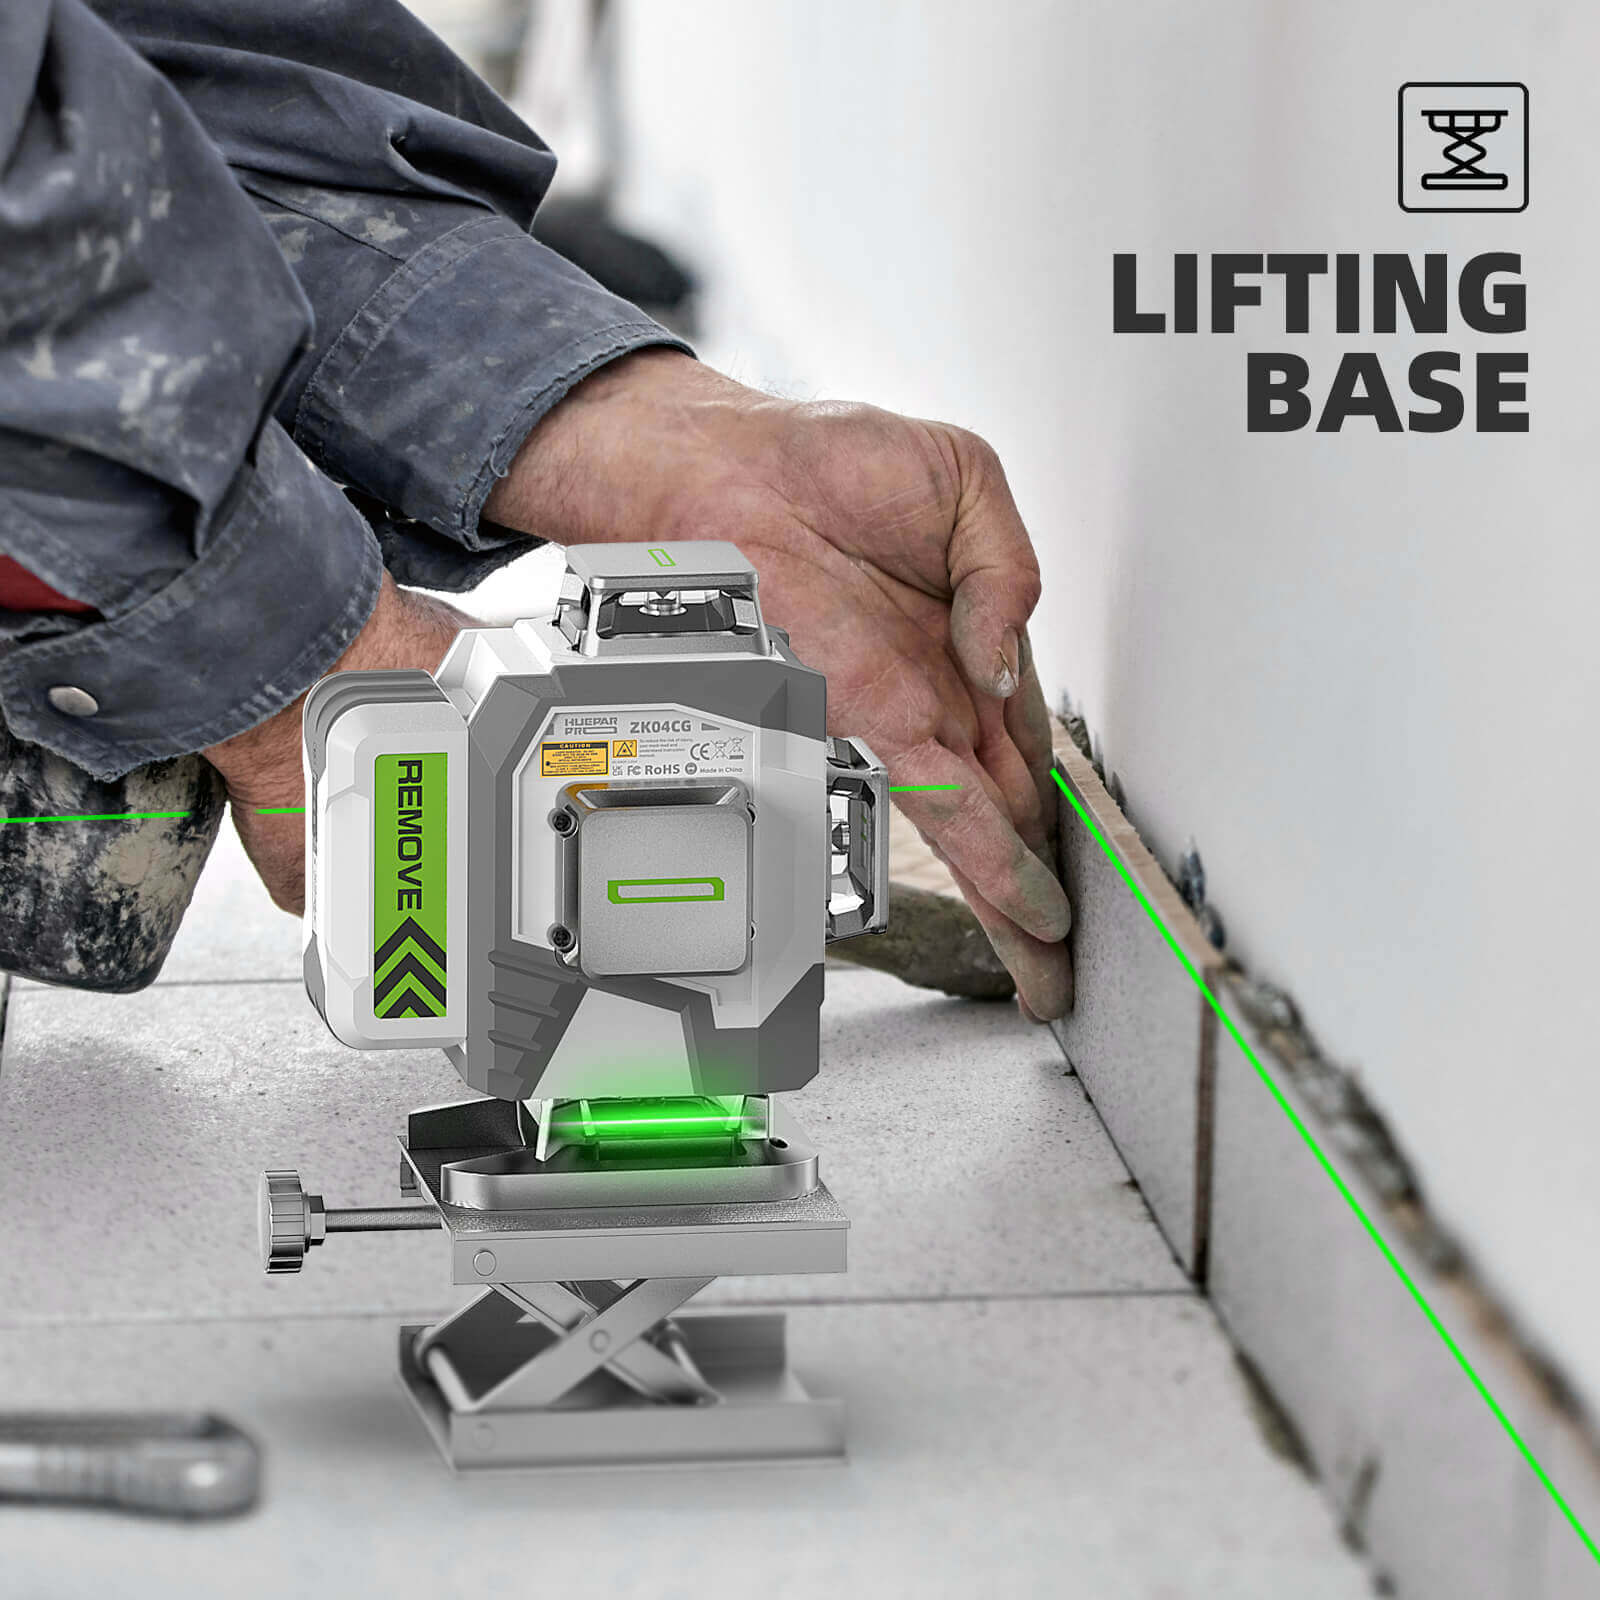
- Lay floor tiles evenly, avoiding lippage and misalignment.
- Build decks and patios with straight edges and perfect angles.
- Apply wallpaper seamlessly, matching patterns flawlessly.
- Fit trims and moldings with accuracy, cutting down on errors.
By using 3d laser levels, DIY tasks are no longer a game of guesswork. Instead, they become efficient, accurate, and gratifying.
Maintaining and Caring for Your Laser Level and Tripod
Proper maintenance is key to the lifespan of your 3D laser level and tripod. Start by storing them in a padded case, away from dust and dirt. Clean the lenses gently with a soft cloth; never use harsh chemicals. Regularly check the calibration of your laser level as part of proper upkeep. For the tripod, ensure all moving parts are clean and well-lubricated. If it's collapsible, inspect the locks and hinges to make sure they're secure. By performing these simple steps, you ensure that your equipment remains reliable for each DIY project.
